4.04.2013
aloe
Newly transplanted aloes. These were heavily root bound in their tiny plastic nursery pots. The one on the right got a bit sunburnt from the sunny weather we've had this week. Aloes will burn if they get too much sun. I've found a window in my house where they seem to be happy.
4.02.2013
spring seedlings
Some new seedlings coming up. It's really helpful to save those old starter packs. I am starting corn this year in an egg carton. Arugula is in the planter I made from an old pallet. These are only a week old!
3.17.2013
Harvesting Wild Nettles
This is the time of year for nettles. They grow abundantly in the Pacific Northwest and are one of the earliest available wild greens in the spring. Pick plants with gloves when they are young and harvest only the tops. Nettles are safe to eat after they have been blanched for several minutes. They're practical to make with pasta because you can use the boiling water for both.
Nettle Pesto & Marinara
Wild harveseted nettles make a great pesto. This batch had a pound of blanched nettles, garlic, salt, toasted walnuts, extra virgin olive oil, and a slice of provolone cheese. Pouring a thin layer of olive oil on top has preservative effects.

You can also make a great marinara with nettles. Sautee an onion with garlic, pepper, and herbs. In a blender puree 1 or 2 large cans of tomatoes with chopped blanched nettles and add back to the onion garlic sautee.
Nettles are very practical to make with pasta because you can reuse the boiling water for blanching the nettles for the pasta.
Nettle Soup
I made this wonderful nettle soup with several pounds of blanched nettles, two sautéed onions with garlic, and some veggie stock. All then pureed in the blender.
2.27.2013
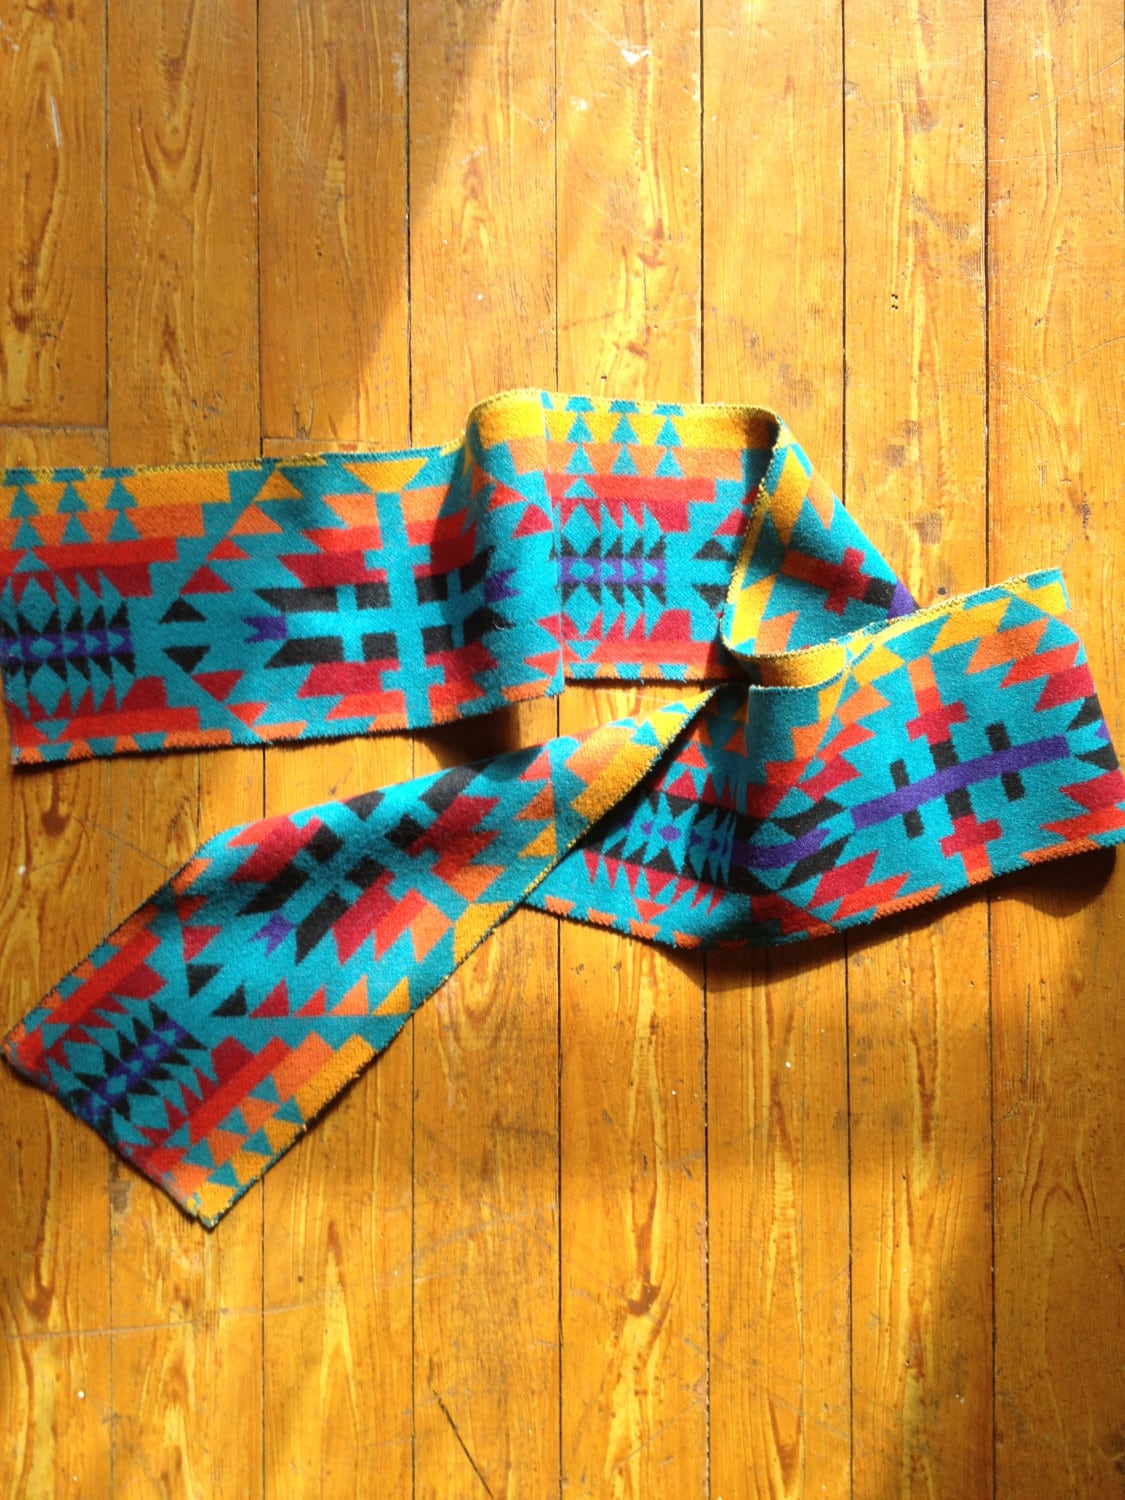
Pendleton jacquard wool scarf
2.13.2013
DIY hemming and debelling
Being able to hem your own pants is a really valuable skill to have. Here I'll explain how I make hems and also how to narrow legs. I'd recommend the the first time you try this, use a pair of cheap thrift store pants.
You will need:
- sharp scissors
- tailor's chalk or any other thing you can mark with that will wash out
- iron
- thread (I prefer heavy duty for these alterations)
- sewing machine
- long ruler
1. First decide where you want your hem to fall. While you're wearing your pants, you can ask a friend to mark where they hit the floor with chalk, or you can measure the inseam of a pair of pants that already fits you well and fits similarly to the pants you want to hem. Think about what kind of shoes you will be wearing with your pants when deciding your hem length.
2. Measure the distance from your desired inseam to the hem and then make two new marks with that measurement on either side of the jeans. Use your ruler as a straight edge connecting those marks, make a line all the way around for the hem line. Flip over and repeat on the other side. 1" below make another line. The lower line is the cut line.
3. Cut along the lower line.
3. Turn the pants inside out, fold the pants to the hem line, and iron. A hem guide is a really handy tool for this step. (It's the largest item in the linked picture.) You can fold your fabric around it and iron through it.
4. Using the fold you've just made as a guide fold in the fabric again until it meets the bottom and iron in place.
4. Sew 1/8" from the edge of the fold.
When you hem you also have to opportunity to debell your pants. This is a great thing to know how to do with the older style bootcut thrift store. You want to do this before you put the new hem in.
1. After marking your pants and cutting out the original hem (before you sew in the new hem) try on your pants and decide how much you want to take the legs in and mark at the hem. Look at the seams and make sure you mark on the side that the seam that is folded inward (usually the outer seam) no the topstitched seam (usually the inner.) In these pants you can see to took in about 1.5" from the side.
2. Turn pants inside out and iron.
3. Make a line up with leg starting from the mark at the hem. On these, I made a line 19" up the leg until it hit the original seam. When you do this you want the line to fairly far up the leg, so that it is almost perpendicular when it hits the original seam. Make a note of the measurement you use on the first leg and then use that same measurement on the other. This way you end up with a smooth new seam.
4. Sew in place and try on. There will probably be a bit of pull at the edges and that is ok. You just want to make sure you like the overall shape. If not rip out the seam and try again you can adjust the two variables - the amount you take in from the side and the length up the leg. If you like it move on the the next step.
5. Cut the excess fabric away with about 3/8" seam allowance. Use the seam ripper to undo the original seam at the area at the knee where it ran close to the new one you put in. After cutting out the original seams your new seam shouldn't pull in.
6. On these I used a zig zag stitch to secure the raw edges.
brioche scarf
I knit this scarf in Lamb's Pride Bulky. Brioche stitch is interesting because you knit alternating rows horizontally, yet you end up with vertical stripes. I adapted the pattern in Weekend Knitting for less stitches to work with the bulky yarn.
Subscribe to:
Comments (Atom)


