
I made two rugs last winter out of Pendleton wool scraps. They sell them for $1/lb at T
he Mill Store. It measures 50" X 60". I made a chain the length of the rug and then added rows in single crochet. I haven't gotten around yet to weaving in all of the ends. Next time I'd like to machine sew the strips together to make a continuous ball, and then it would be smoother without the knots and ends sticking out, and faster work as I won't have any knots to tie as I go. That aside I am very happy with it. It makes an awesome rug for our room. It's really thick, and I love the jumble of colors. It has held up well for the past year and half, though I would probably not recommend making one of these for any high traffic/ dirt areas of the house. Does anyone have any experience machine washing these? I think remember someone at the store saying they can be felted. Has anyone tried that?


The brick red one above, I made as a wedding gift for a friend. It is a single crochet circle about 36" across. To get the circle shape, I loosely followed the pattern below.
Circle Rug:
Chain 4 and join with a sl stich in the first ch to form a ring.
Round 1: CH1, 8sc in ring.
Round 2: 2sc in ea sc. 16sc
Round 3: 1 sc in next sc, 2 sc in next sc. 24sc
Round 4: 1 sc in each sc
5: Rep round 3. 36sc
6: Rep round 4
7: 1 sc in next 2 sc, 2 sc in next sc. 48sc
8: Rep round 4.
9: 1 sc in ea of next 3 sc, 2 sc in next sc. 60sc
10: Rep round 4
11: 1 sc in each the first 2sc, 2 sc in next sc, *1sc in each of the next 4 sc, 2 sc in next sc; rep from *, ending with 1 sc in each of the lst 2 sc. 72 sc
Continue on in this way, adding 12sc every other round by working one more stitch between increases.
I have a small rectangle rug made out of these same red scraps for sale
here at my Etsy page.

 I knit this cowl on a 16" circular needle (I think it was size 4). The yarn is amazingly soft baby alpaca from Foothills Yarn & Fiber in Hood River. It was spun from thier alpacas. The pattern is free here at the Lion Brand website.
 I made two rugs last winter out of Pendleton wool scraps. They sell them for $1/lb at The Mill Store. It measures 50" X 60". I made a chain the length of the rug and then added rows in single crochet. I haven't gotten around yet to weaving in all of the ends. Next time I'd like to machine sew the strips together to make a continuous ball, and then it would be smoother without the knots and ends sticking out, and faster work as I won't have any knots to tie as I go. That aside I am very happy with it. It makes an awesome rug for our room. It's really thick, and I love the jumble of colors. It has held up well for the past year and half, though I would probably not recommend making one of these for any high traffic/ dirt areas of the house. Does anyone have any experience machine washing these? I think remember someone at the store saying they can be felted. Has anyone tried that?


 Get a standard 8.5" X 11" piece of paper and use as your pattern to cut a rectangle. Cut another rectangle 4" X 16". If using a 7" zipper like I did here, start your zipper cut 4.5" from the edge of the longer rectangle and make the cut 7" long. Center the zipper right side down on on the cut and pin and sew into place. (Sew a box around the zipper with it zipped up.) Cut a strip of felt to use as your loop. Wrong sides out, pin the corner of narrow side of the long rectangle to wide size of the fat rectangle 3.5" from the edge. Pin the other corner. (It should be centered.) Fold the long rectangle over and pin the other side in place. Pick a spot for your loop and pin it in remembering to push the loop to the inside of the bag because it is inside out now. Pin the rest of the bag, unzip the zipper, and sew with an even seam allowance. Turn inside out, and you've got your bag.
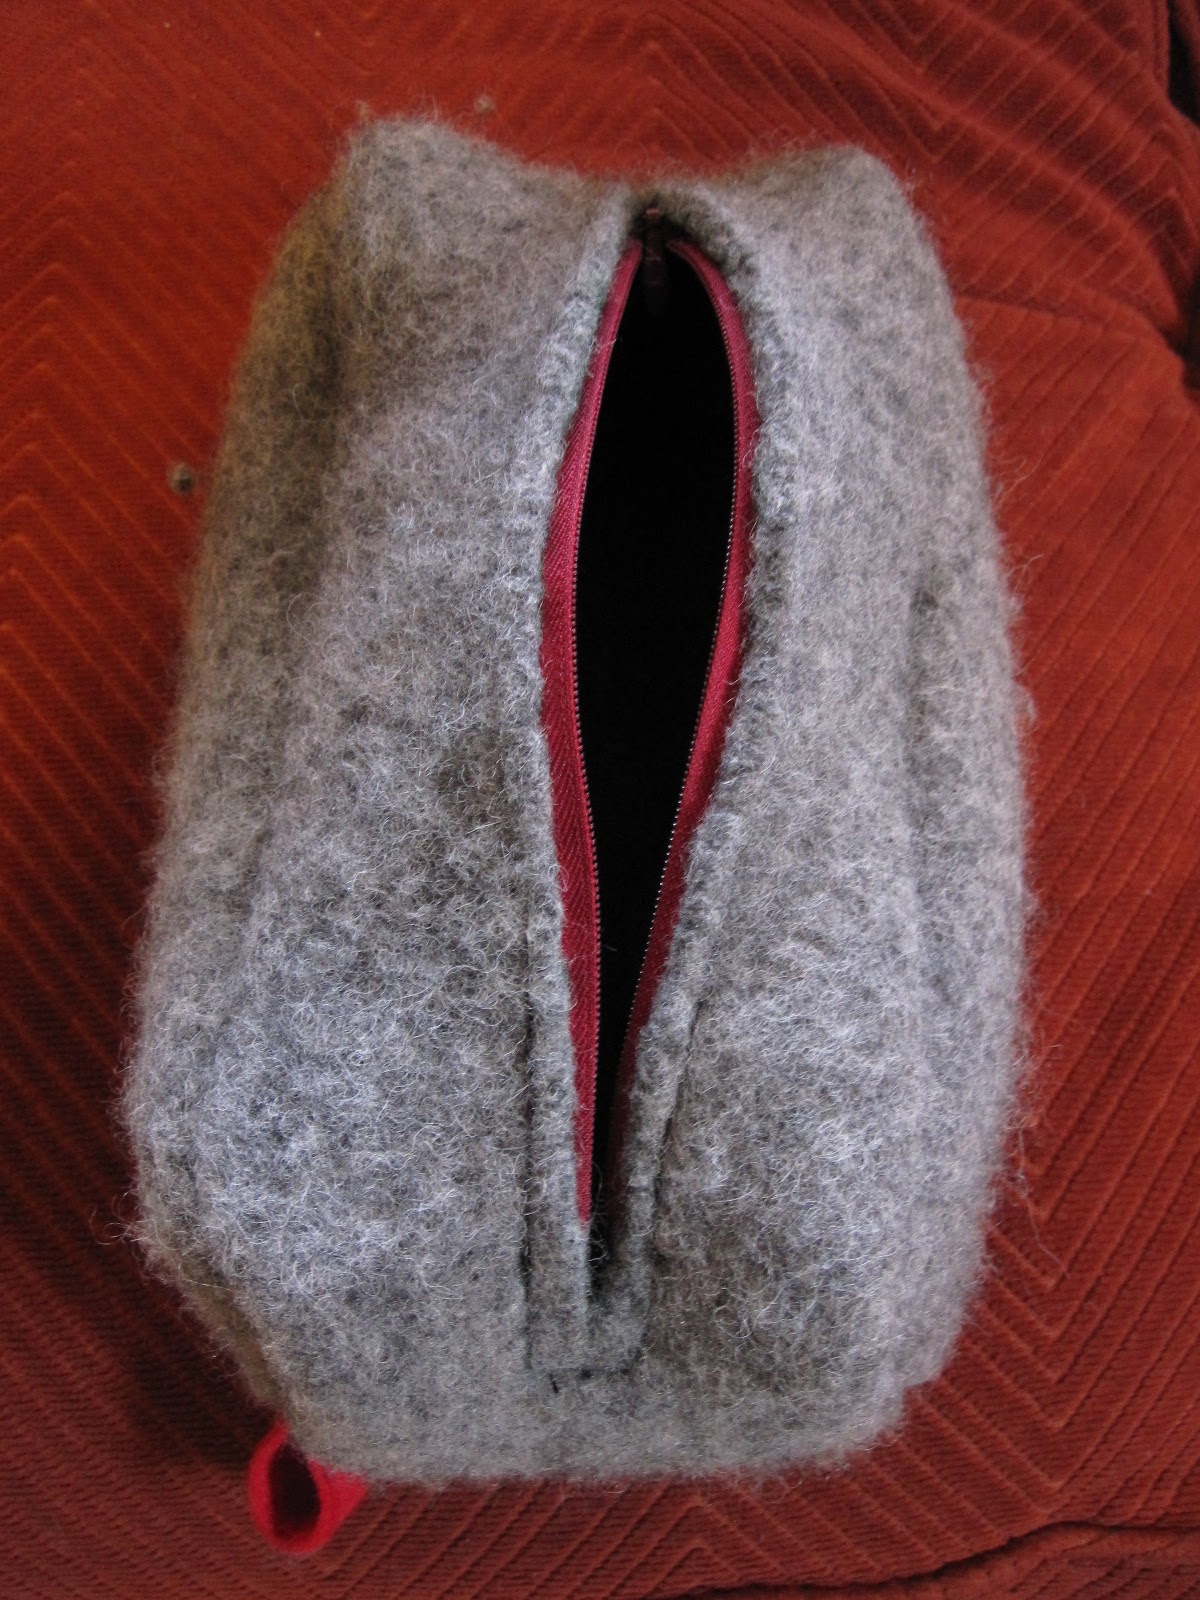
 This one was kind of a pain because I wanted a zippered pouch without a seam on the bottom (there are only seams on the sides.) I took a large square of felt folded in half, inside out and pinned the zipper in place. I then unzipped it and sewed in the zipper, and luckily it zipped close without any warping. (I guess the "right" way to do it is to sew the zipper in with it closed so both sides meet evenly.) I turned the bag right side out and sewed the side seams (also putting in a tab. If you don't mind a bottom seam then just cut two matching rectangles that are the length of your zipper and sew on the zipper to the top of each piece then fold the two together and then sew around the other 3 sides. Felted fair isle looks super cool.